
BottomNavigationBarとは
スマホアプリの画面下に表示されるメニューバーのことです。
スマホアプリにおいてポピュラーな存在であり、有名なアプリで言うと「X(旧:Twitter)」や「instagram」などがあります。
使用環境
VScode バージョン: 1.84.2
Flutter バージョン: 3.76.0
実装
動作画面と実装コードです。
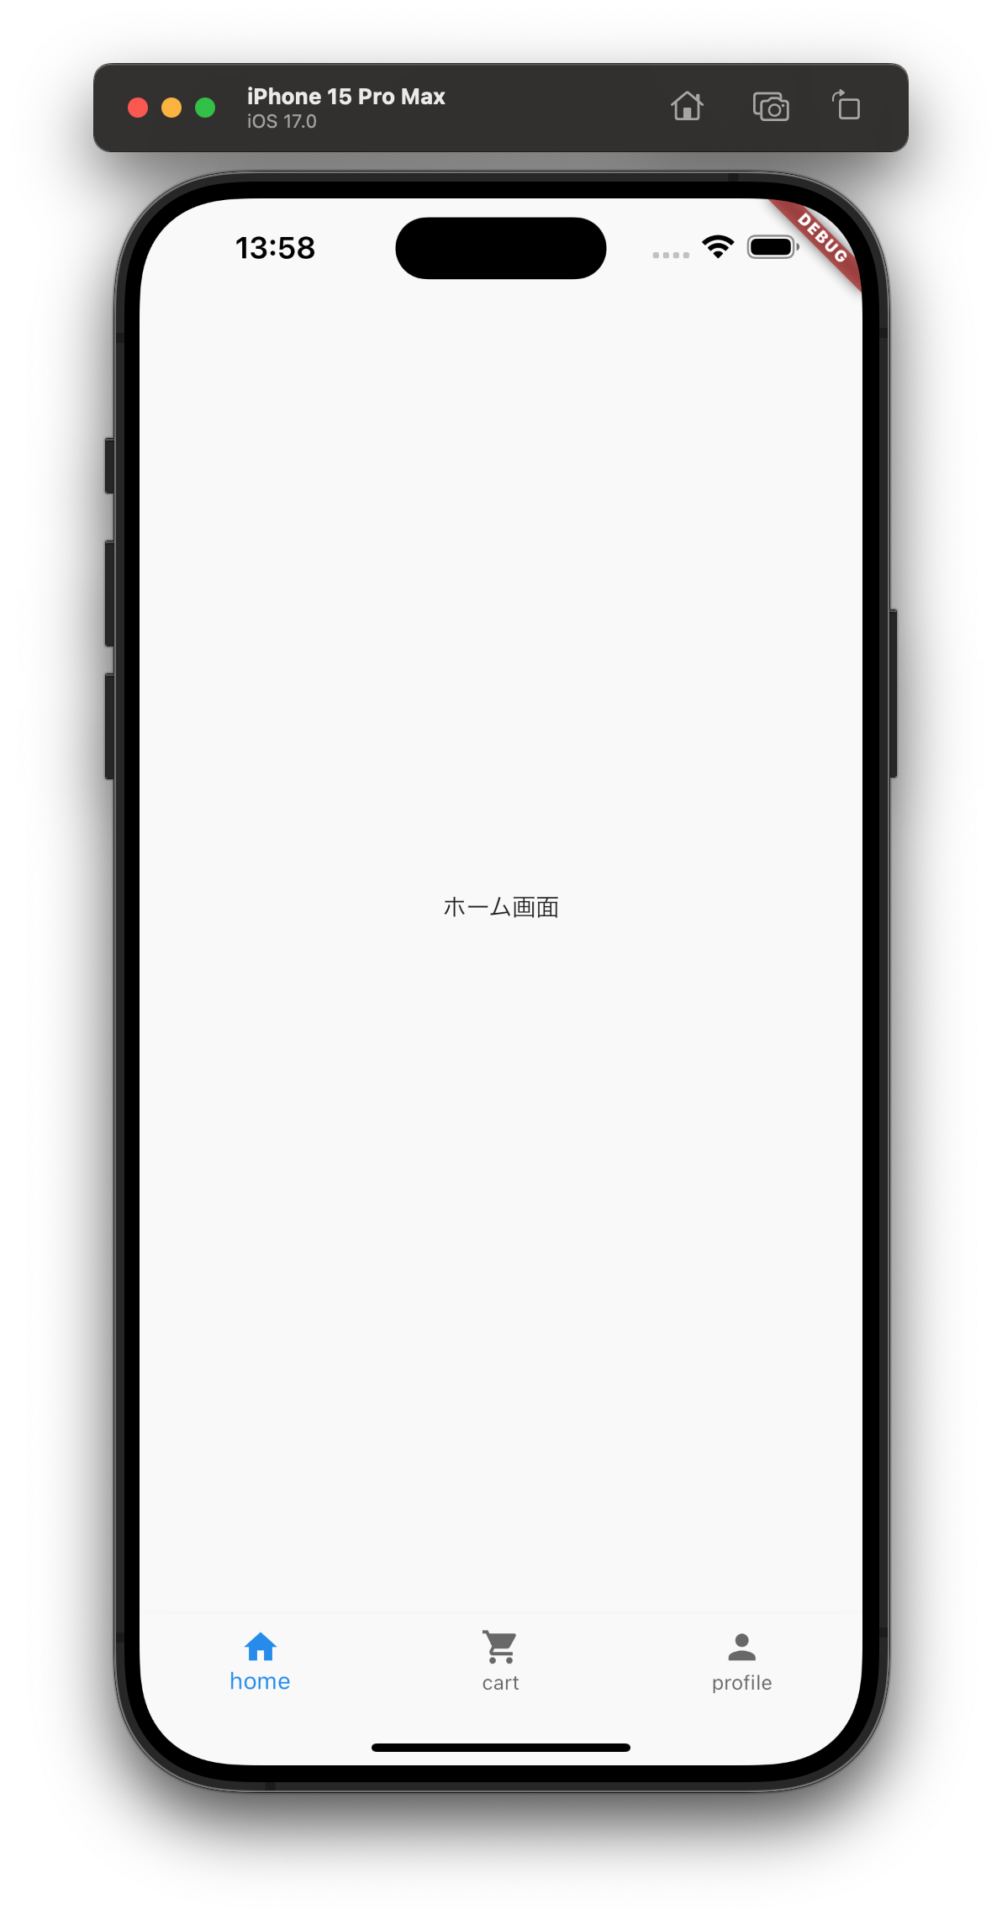 | 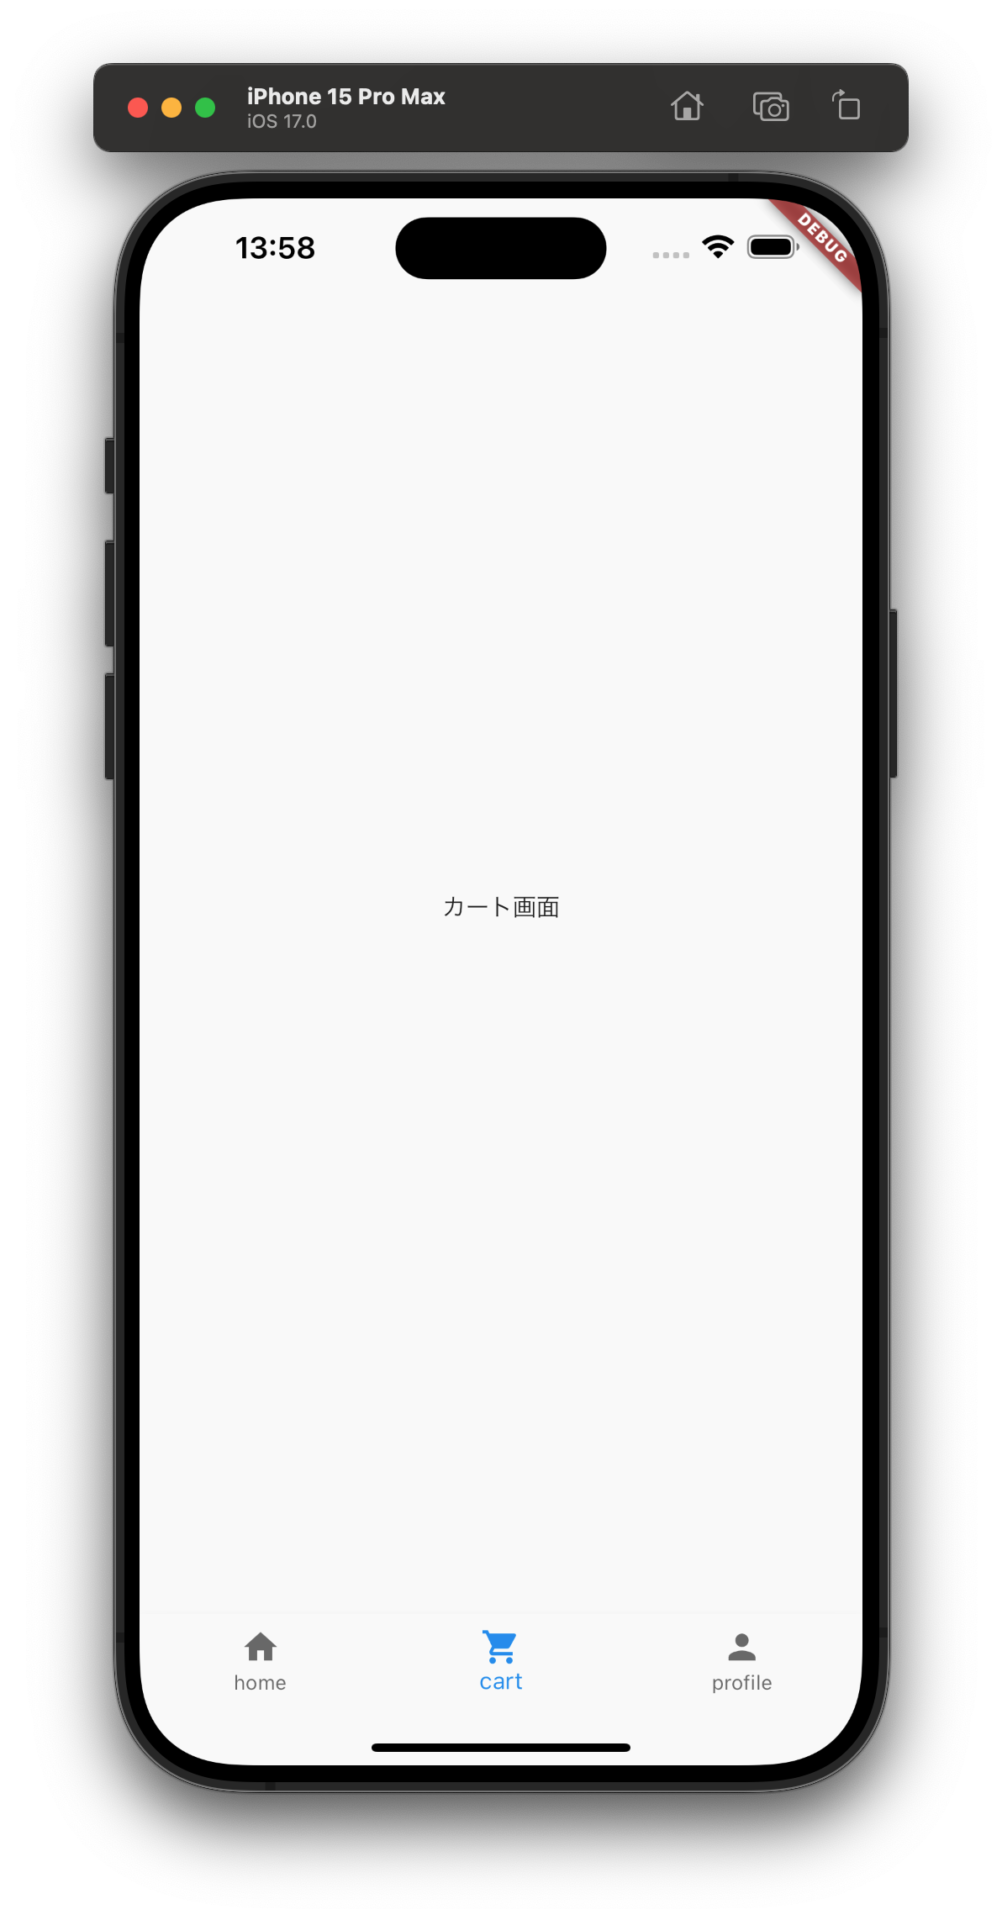 | 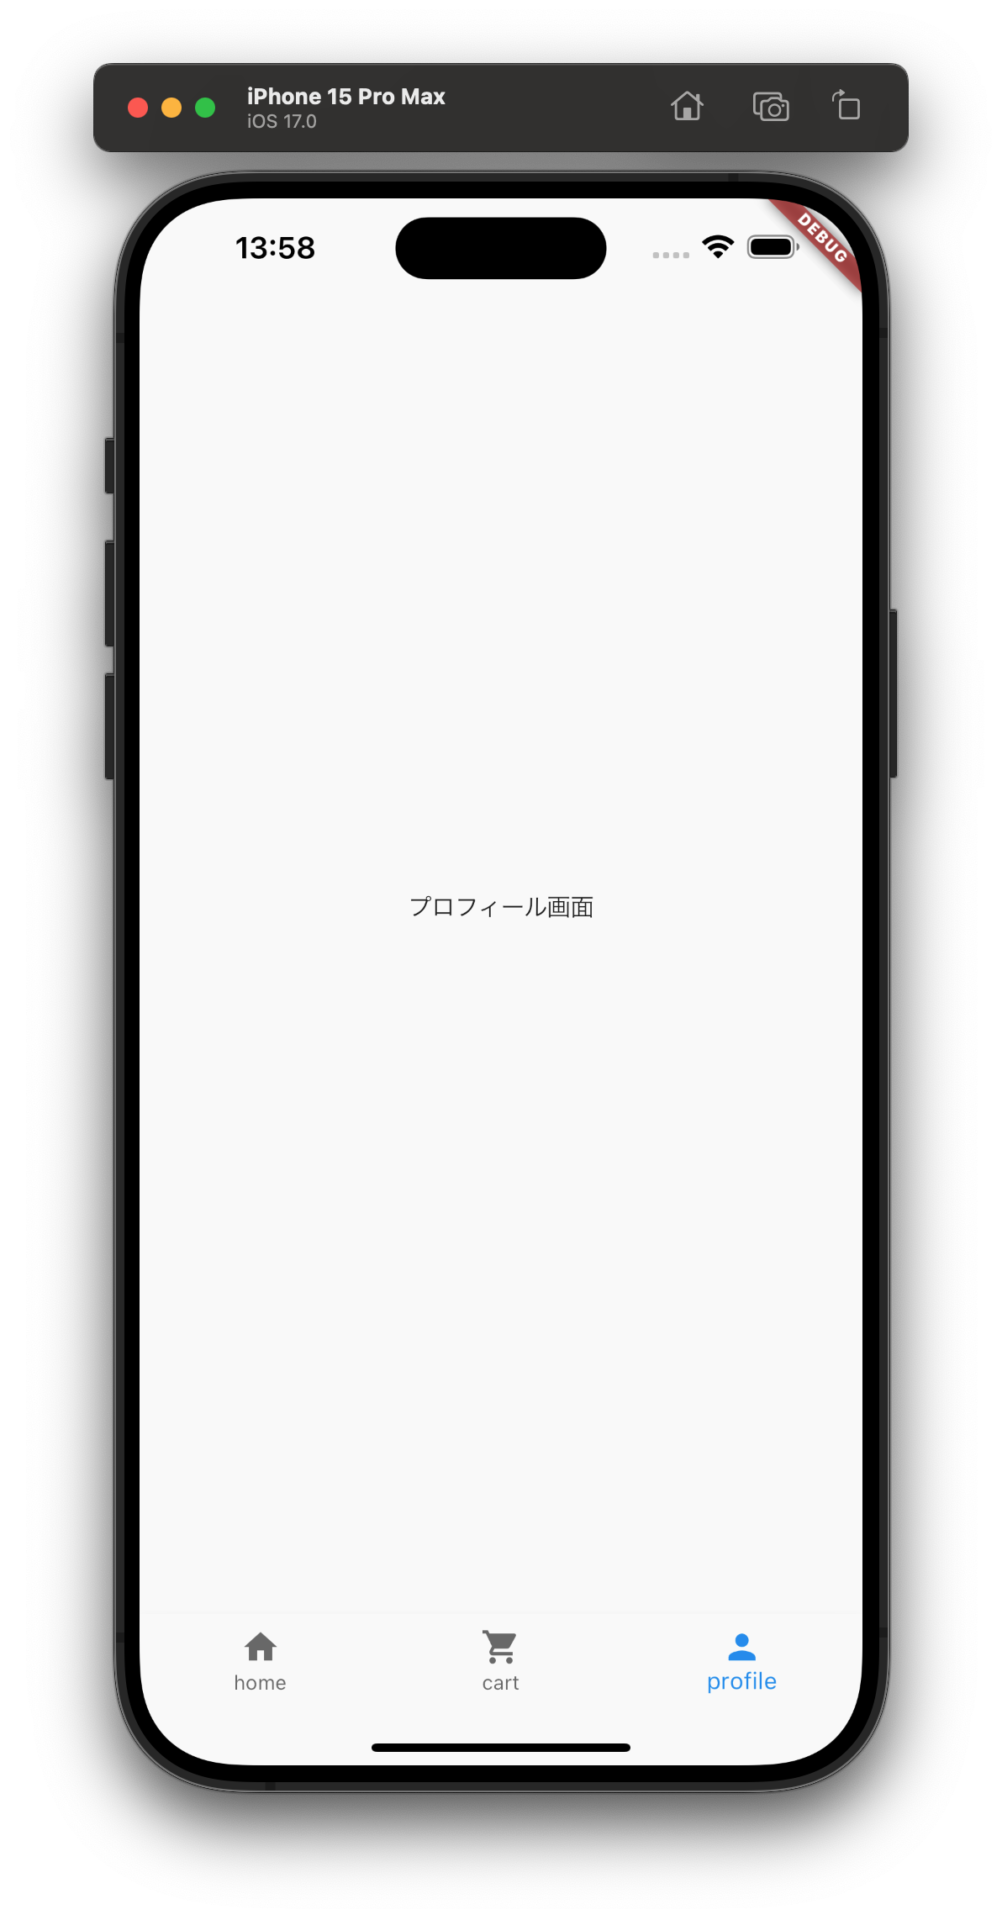 |
このようにメニューをタップすると画面が切り替わります。
以下実装コードです。(抜粋)
【main.dart】

---省略---

enum ViewType { home, cart, profile }

final baseTabViewProvider = StateProvider<ViewType>((ref) => ViewType.home);

class TabView extends ConsumerWidget {
  TabView({Key? key}) : super(key: key);

  final widgets = [
    const HomePage(),
    const CartPage(),
    const ProfilePage(),
  ];

  @override
  Widget build(BuildContext context, WidgetRef ref) {
    final view = ref.watch(baseTabViewProvider);

    return Scaffold(
        body: widgets[view.index],
        bottomNavigationBar: BottomNavigationBar(
          items: const [
            BottomNavigationBarItem(icon: Icon(Icons.home), label: 'home'),
            BottomNavigationBarItem(icon: Icon(Icons.shopping_cart), label: 'cart'),
            BottomNavigationBarItem(icon: Icon(Icons.person), label: 'profile'),
          ],
          currentIndex: view.index,
          onTap: (int index) =>
              ref.watch(baseTabViewProvider.notifier).state = ViewType.values[index],
          type: BottomNavigationBarType.fixed,
        ));
  }
}
解説
コードを解説していきます。
enum ViewType { home, cart, profile }

final baseTabViewProvider = StateProvider<ViewType>((ref) => ViewType.home);
まずはタブの切り替えを管理するためにenumを定義します。
今回は home = ホーム画面, cart = カート画面, profile = プロフィール画面を切り替える。という動作を行います。
先ほど定義したenumをStateProviderで状態を監視します。今回はホーム画面を最初に表示させたいので初期値をViewType.homeとします。
  final widgets = [
    const HomePage(),
    const CartPage(),
    const ProfilePage(),
  ];
次に画面に表示したい3つの画面を設定します。(今回はWidgetで指定)
body: widgets[view.index],画面に表示したいWidgetを指定します。
つまりhomeが選択されていればwidgetsの0番目のHomePage()の中身が表示される。
 items: const [
            BottomNavigationBarItem(icon: Icon(Icons.home), label: 'home'),
            BottomNavigationBarItem(icon: Icon(Icons.shopping_cart), label: 'cart'),
            BottomNavigationBarItem(icon: Icon(Icons.person), label: 'profile'),
          ],
currentIndex: view.index,
ボトムメニューに表示したいアイコンと文字列を設定。
選択されたボトムメニューの設定。view.indexつまり、表示する画面に連動してメニューが選択される。
onTap: (int index) =>
              ref.watch(baseTabViewProvider.notifier).state = ViewType.values[index],
ボトムメニューのアイコンをタップした時の動作。押したアイコンの画面に切り替えたい。
notifireでenumの更新を依頼、state(状態)を◯番目の列挙型のデータに変更する。
ソースコード
全体のソースコードになります。
【main.dart】

void main() {
  runApp(
    const ProviderScope(child: MyApp()),
  );
}

class MyApp extends StatelessWidget {
  const MyApp({super.key});
  @override
  Widget build(BuildContext context) {
    return MaterialApp(
      theme: ThemeData(
        useMaterial3: false,
      ),
      home: TabView(),
    );
  }
}

enum ViewType { home, cart, profile }

final baseTabViewProvider = StateProvider<ViewType>((ref) => ViewType.home);

class TabView extends ConsumerWidget {
  TabView({Key? key}) : super(key: key);

  final widgets = [
    const HomePage(),
    const CartPage(),
    const ProfilePage(),
  ];

  @override
  Widget build(BuildContext context, WidgetRef ref) {
    final view = ref.watch(baseTabViewProvider);

    return Scaffold(
        body: widgets[view.index],
        bottomNavigationBar: BottomNavigationBar(
          items: const [
            BottomNavigationBarItem(icon: Icon(Icons.home), label: 'home'),
            BottomNavigationBarItem(icon: Icon(Icons.shopping_cart), label: 'cart'),
            BottomNavigationBarItem(icon: Icon(Icons.person), label: 'profile'),
          ],
          currentIndex: view.index,
          onTap: (int index) =>
              ref.watch(baseTabViewProvider.notifier).state = ViewType.values[index],
          type: BottomNavigationBarType.fixed,
        ));
  }
}
【home_page.dart】
class HomePage extends StatelessWidget {
const HomePage({super.key});
@override
Widget build(BuildContext context) {
return const Scaffold(body: Center(child: Text('ホーム画面')));
}
}【cart_page.dart】
class CartPage extends StatelessWidget {
const CartPage({super.key});
@override
Widget build(BuildContext context) {
return const Scaffold(body: Center(child: Text('カート画面')));
}
}【profile_page.dart】
class ProfilePage extends StatelessWidget {
const ProfilePage({super.key});
@override
Widget build(BuildContext context) {
return const Scaffold(body: Center(child: Text('プロフィール画面')));
}
}いかがだったでしょうか?
ご意見、ご感想ありましたらお気軽にコメントしてください。
BottomNavigationBarは簡単に実装でき、便利なウィジェットなので覚えておくと便利です。
【参考文献】

コメント